Overview
This is a journey through my personal developer stack that runs entirely on Android devices using Termux, a few custom scripts, and AWS infrastructure. From hosting WordPress on ECS to building serverless REST APIs in under 90 minutes, every part of this pipeline was built to work on mobile with precision and control.
📱 No laptop. No desktop. Just Android + Termux + Dev discipline.
🔧 Core Stack Components
- Android + Termux: Primary development environment
- Docker + Jenkins + MySQL/MariaDB: For CI/CD and content management
- Static blog pipeline: Converts WordPress to static site with
wget,sed,gzip, AWS CLI - AWS S3 + CloudFront: Hosting & CDN for ultra-low cost (\$8/year infra)
- Custom shell scripts: Shared here: GitHub – jthoma/code-collection
- GitHub integration: Direct push-pull and update from Android environment
🖥️ Development Environment Setup
- Base OS: Android (Galaxy M14, A54, Tab S7 FE)
- Tools via Termux:
git,aws-cli,nodejs,ffmpeg,imagemagick,docker,nginx,jq,sam - Laptop alias (
start blog) replaced with automated EC2 instance and mobile scripts - Jenkins auto-triggered publish pipeline via shell script and
wget/sed
🔐 Smart IP Firewall Update from Mobile
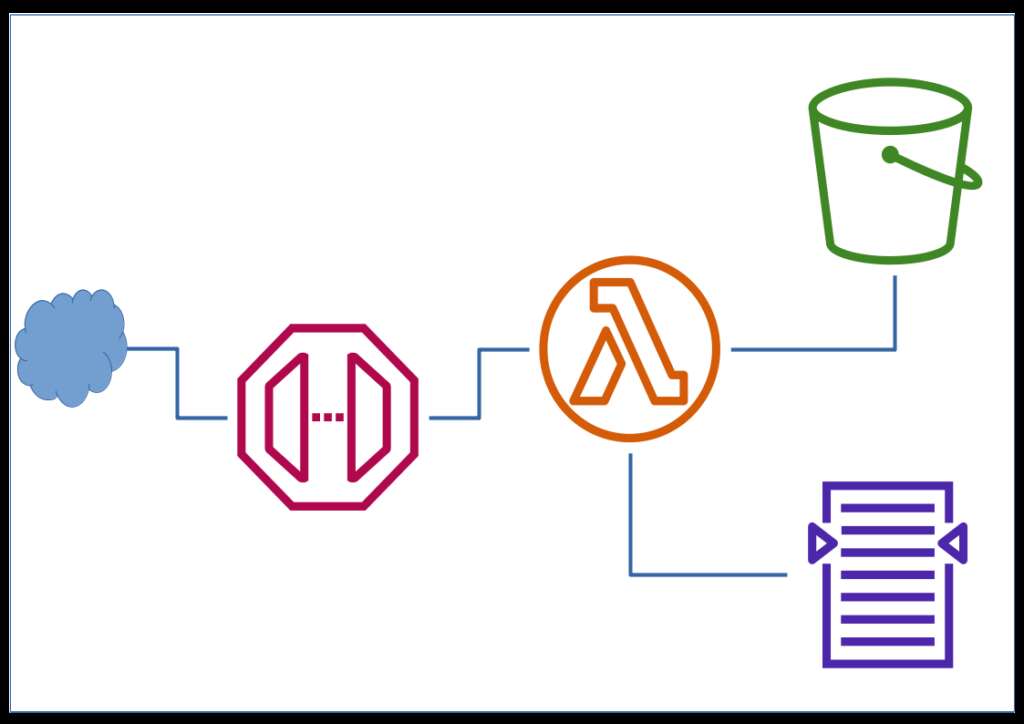
A common challenge while working from mobile networks is frequently changing public IPs. I built a serverless solution that:
- Uses a Lambda + API Gateway to return my current public IP
echo-my-ip
https://github.com/jthoma/code-collection/tree/master/aws/echo-my-ip
- A script (
aws-fw-update.sh) fetches this IP and:
- Removes all existing rules
- Adds a new rule to AWS Security Groups with current IP
→aws-fw-update.sh
🧹 Keeps your firewall clean. No stale IPs. Secure EC2 access on the move.
🎥 FFmpeg & ImageMagick for Video Edits on Android
I manipulate dashcam videos, timestamp embeds, and crops using FFmpeg right inside Termux. The ability to loop through files with while, seq, and timestamp math is far more precise than GUI tools — and surprisingly efficient on Android.
🧠 CLI = control. Mobile ≠ limited.
🌐 Web Dev from Android: NGINX + Debugging
From hosting local web apps to debugging on browsers without dev tools:
- 🔧 NGINX config optimized for Android Termux
- 🐞
jdebug.jsfor browser-side debugging when no console exists
Just use:jdbg.inspect(myVar)to dump var to dynamically added<textarea>
Tested across Samsung Galaxy and Tab series. Works offline, no extra apps needed.
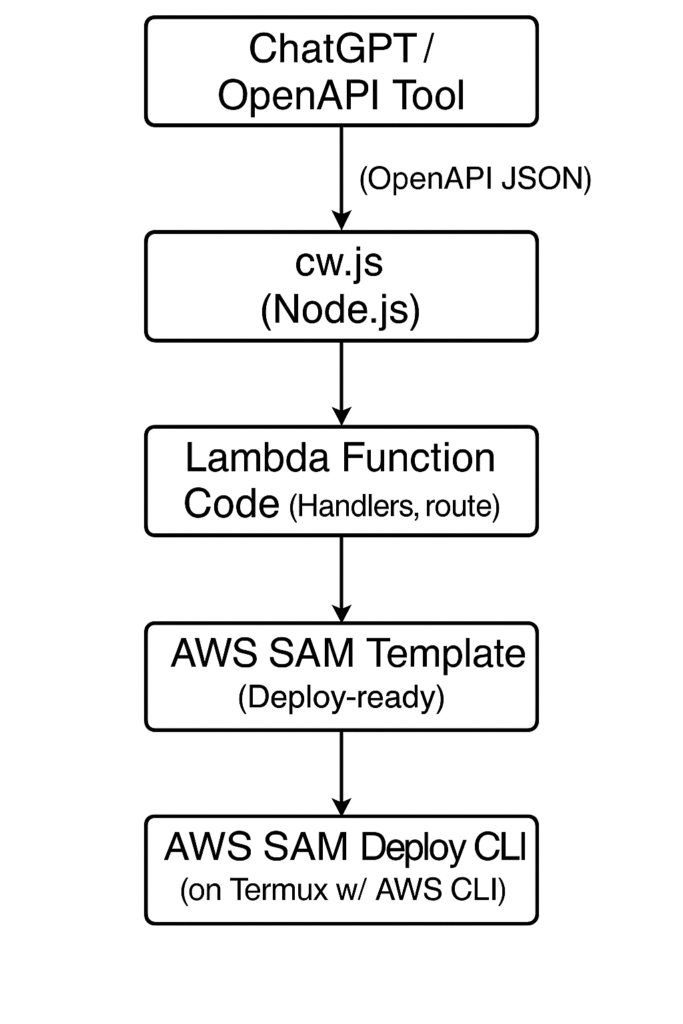
Case Study: 7-Endpoint API in 80 Minutes
- Defined via OpenAPI JSON (generated by ChatGPT)
- Parsed using my tool
cw.js(Code Writer) → scaffolds handlers + schema logic - Deployed via my
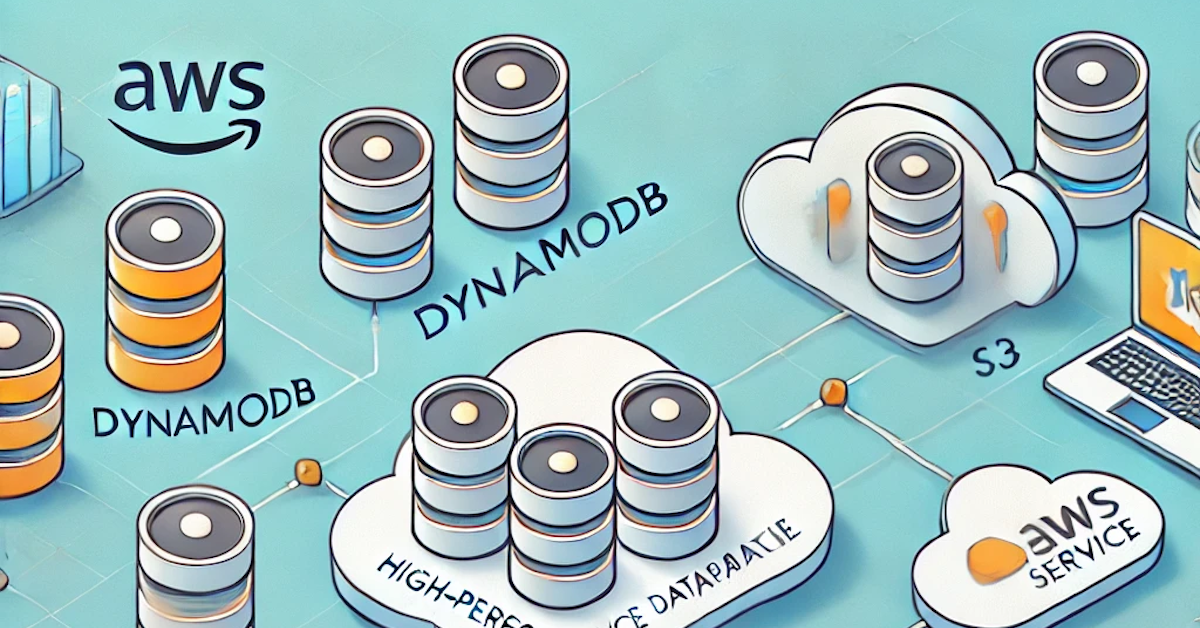
aws-nodejs-lambda-framework - Backed by AWS Lambda + DynamoDB
✅ Client testing ready in 1 hour 20 minutes
🎯 Client expectation: “This will take at least 1 week”
Built on a Samsung Galaxy Tab S7 FE in Termux. One cliche is that I do have the samsung full keyboard book case cover for the tab.
No IDE. No laptop.
🔁 Flow Diagram:
🔚 Closing Thoughts
This entire DevOps + Dev stack proves one thing:
⚡ With a few smart scripts and a mobile-first mindset, you can build fast, secure, and scalable infrastructure from your pocket.
I hope this inspires other engineers, digital nomads, and curious tinkerers to reimagine what’s possible without a traditional machine.
👉 https://github.com/jthoma/code-collection/
Apart from what explained step by step there are a lot more and most of the scripts are tested on both Ubuntu linux and Android Termux. Go there and explore whatever is there.
💬 Always open to collaboration, feedback, and new automation ideas.