For a long time, I had a desire to create a video that helps people confirm that their headphones are worn correctly, especially when there are no left or right indicators. While similar solutions exist out there, I decided to take this on as an exploration of my own, using tools I’m already familiar with: GIMP, bash, and FFmpeg.
This project resulted in a short animation that visually shows which speaker—left, right, or both—is active, syncing perfectly with the narration.
Project Overview:
The goal of the video was simple: create an easy way for users to verify if their headphones are worn correctly. The animation features:
- “Hear on both speakers”: Animation shows pulsations on both sides.
- “Hear on left speaker only”: Pulsations only on the left.
- “Hear on right speaker only”: Pulsations only on the right.
- Silence: No pulsations at all. Tools Used:
- Amazon Polly for generating text-to-speech narration.
- Audacity for audio channel switching.
- GIMP for creating visual frames of the animation.
- Bash scripting to automate the creation of animation sequences.
- FFmpeg to compile the frames into the final video.
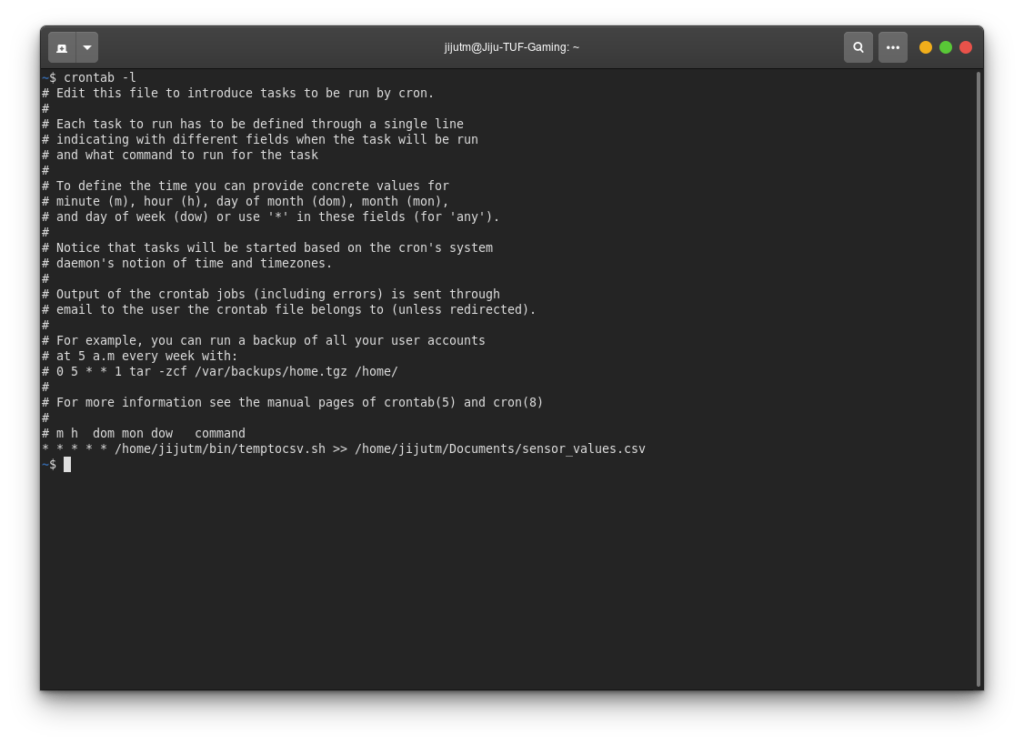
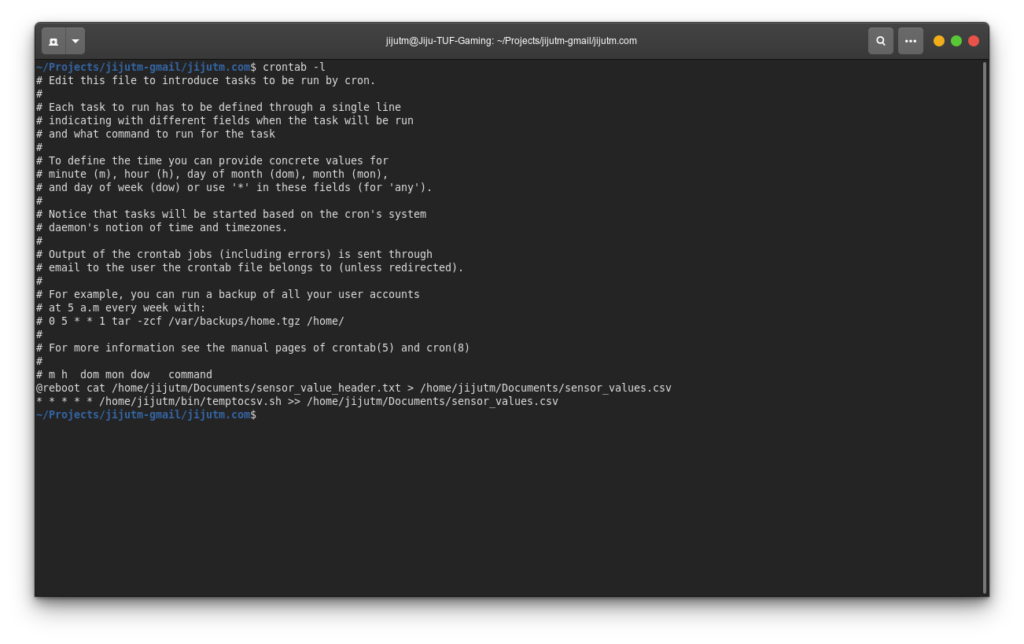
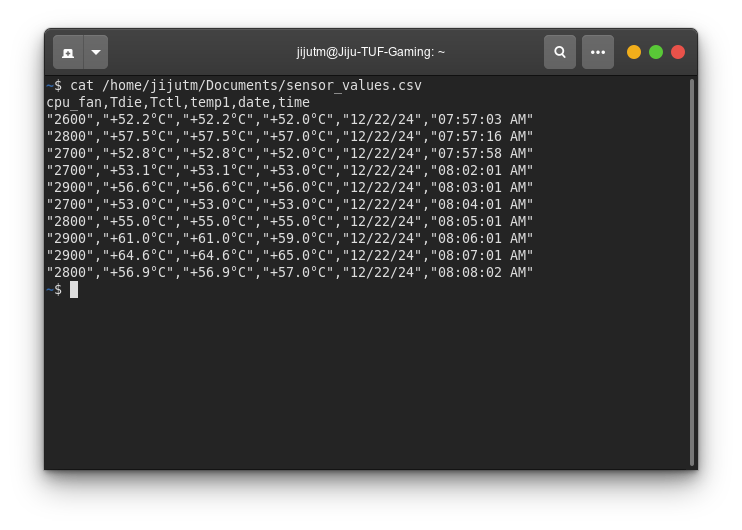
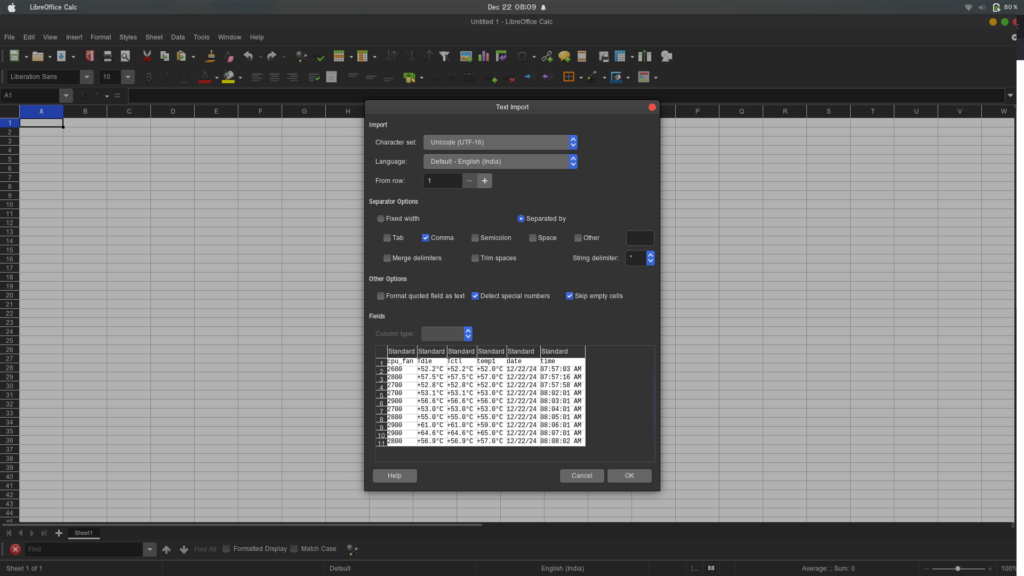
- LibreOffice Calc to calculate frame sequences for precise animation timing. Step-by-Step Workflow:
- Creating the Audio Narration:
Using Amazon Polly, I generated a text-to-speech audio file with the necessary instructions. Polly’s lifelike voice makes it easy to understand. I then used Audacity to modify the audio channels, ensuring that the left, right, and both channels played at the appropriate times.
- Synchronizing Audio and Visuals:
I needed the animation to sync perfectly with the audio. To achieve this, I first identified the start and end of each segment in the audio file and created a spreadsheet in LibreOffice Calc. This helped me calculate the number of frames per segment, ensuring precise timing for the animation.
- Creating Animation Frames in GIMP:
The visual animation was created using a simple diaphragm depression effect. I made three frames in GIMP:
- One for both speakers pulsating,
- One for the left speaker only,
- One for the right speaker only.
- Automation with Bash:
Once the frames were ready, I created a guideline text using Gedit that outlined the sequence. I then used a bash while-read loop combined with a seq loop to generate 185 image files. These files followed a naming convention of anim_%03d.png, ensuring they were easy to compile later.
- Compiling with FFmpeg:
After all frames were created, I used FFmpeg to compile the images into the final video. The result was a fluid, synchronized animation that matched the audio perfectly. The Finished Product:
Here’s the final video that demonstrates the headphone speaker test:
https://youtu.be/_fskGicSSUQ
Why I Chose These Tools:
Being familiar with xUbuntu, I naturally gravitated toward tools that work seamlessly in this environment. Amazon Polly provided high-quality text-to-speech output, while Audacity handled the channel switching with ease. GIMP was my go-to for frame creation, and the combination of bash and FFmpeg made the entire animation process efficient and automated.
This project not only satisfied a long-held desire but also served as an exciting challenge to combine these powerful tools into one cohesive workflow. It was a satisfying dive into animation and audio synchronization, and I hope it can help others as well!
Conclusion:
If you’re into creating animated videos or simply exploring new ways to automate your creative projects, I highly recommend diving into tools like GIMP, bash, and FFmpeg. Whether you’re on xUbuntu like me or another system, the potential for customization is vast. Let me know if you found this helpful or if you have any questions!